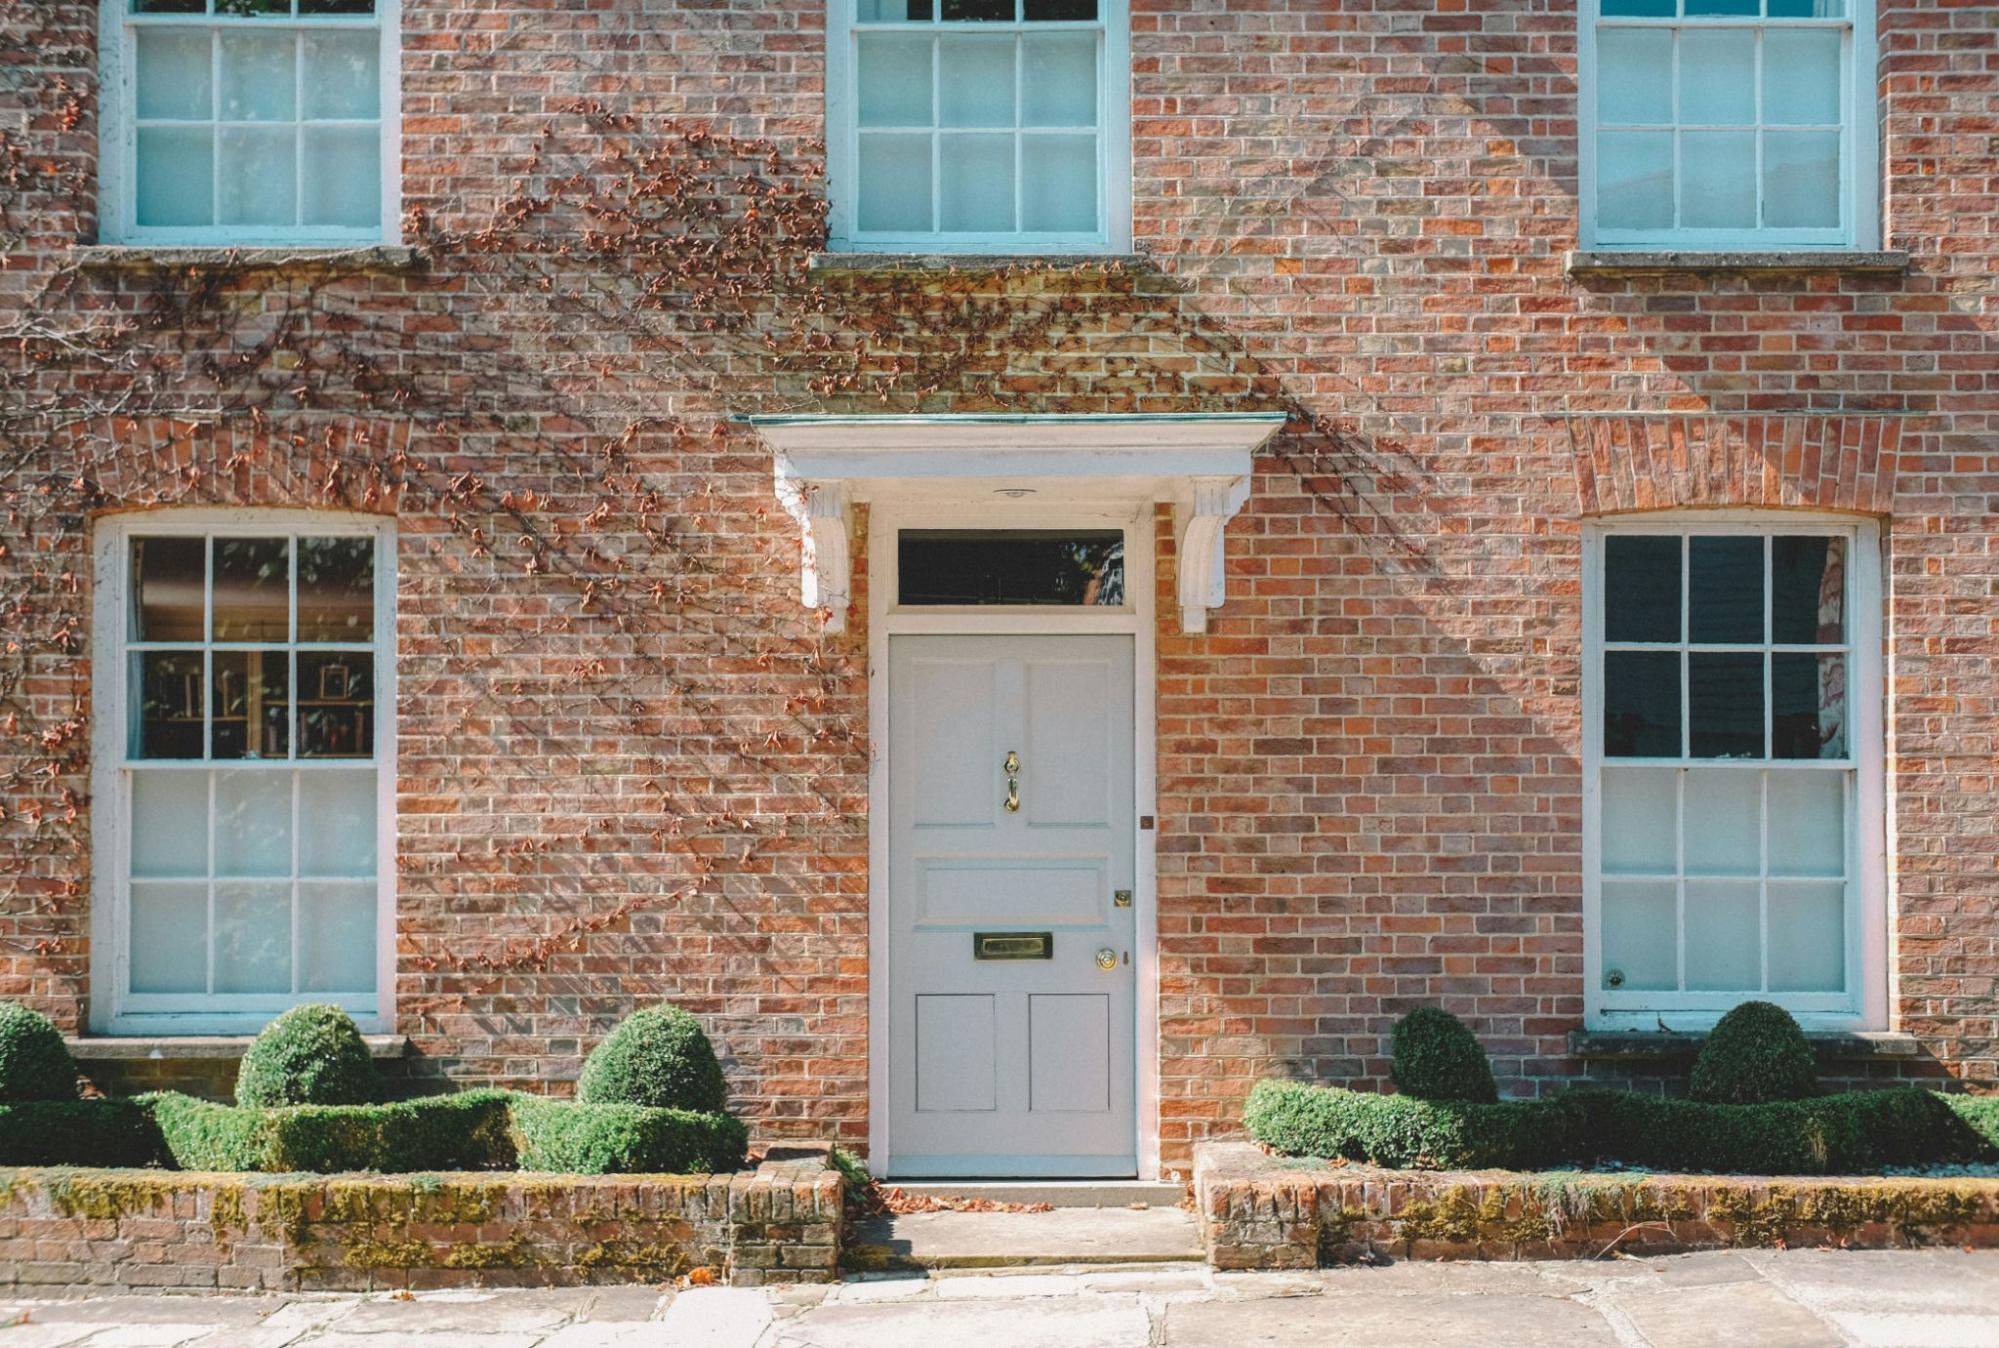
One of the most enjoyable projects you can take on during your period property renovation is updating the front door of your home. This simple weekend project will transform the look of your home. Your entrance way is often the first thing visitors encounter, so it can be a bold statement about the interior of your home that carries out into the street.
We must also think about practical matters. Upgrading your door hardware can help to improve insulation, keeping warm air in and cold breezes out. It can also help to put an end to the endless annoyance of a slamming letterbox, or the wind whistling through gaps. If you’ve decided it’s time to upgrade your letterbox and door hardware, you’re in the right place.
We’re taking you through the process of upgrading your door hardware, so you can tackle this project in a weekend.
The process for fitting a new letterbox is fairly straightforward and you’re likely to have the tools you need in a basic toolkit. Difficulties might arise if your letterbox is not the same size, in which case you would need to either make the opening smaller, or close the gap.
If you’re thinking about painting your door, make sure you complete this step before replacing your letterbox. Better still, remove the old hardware before you paint and then replace the hardware once the paint has dried.
This guide is for replacing the letterbox in a wooden door, typical of those found in period properties. The process will be different for a uPVC door or a composite door, as you will not be able to extend the size of the hole. We have only looked at the process for a wooden door, as these are most common in period homes.
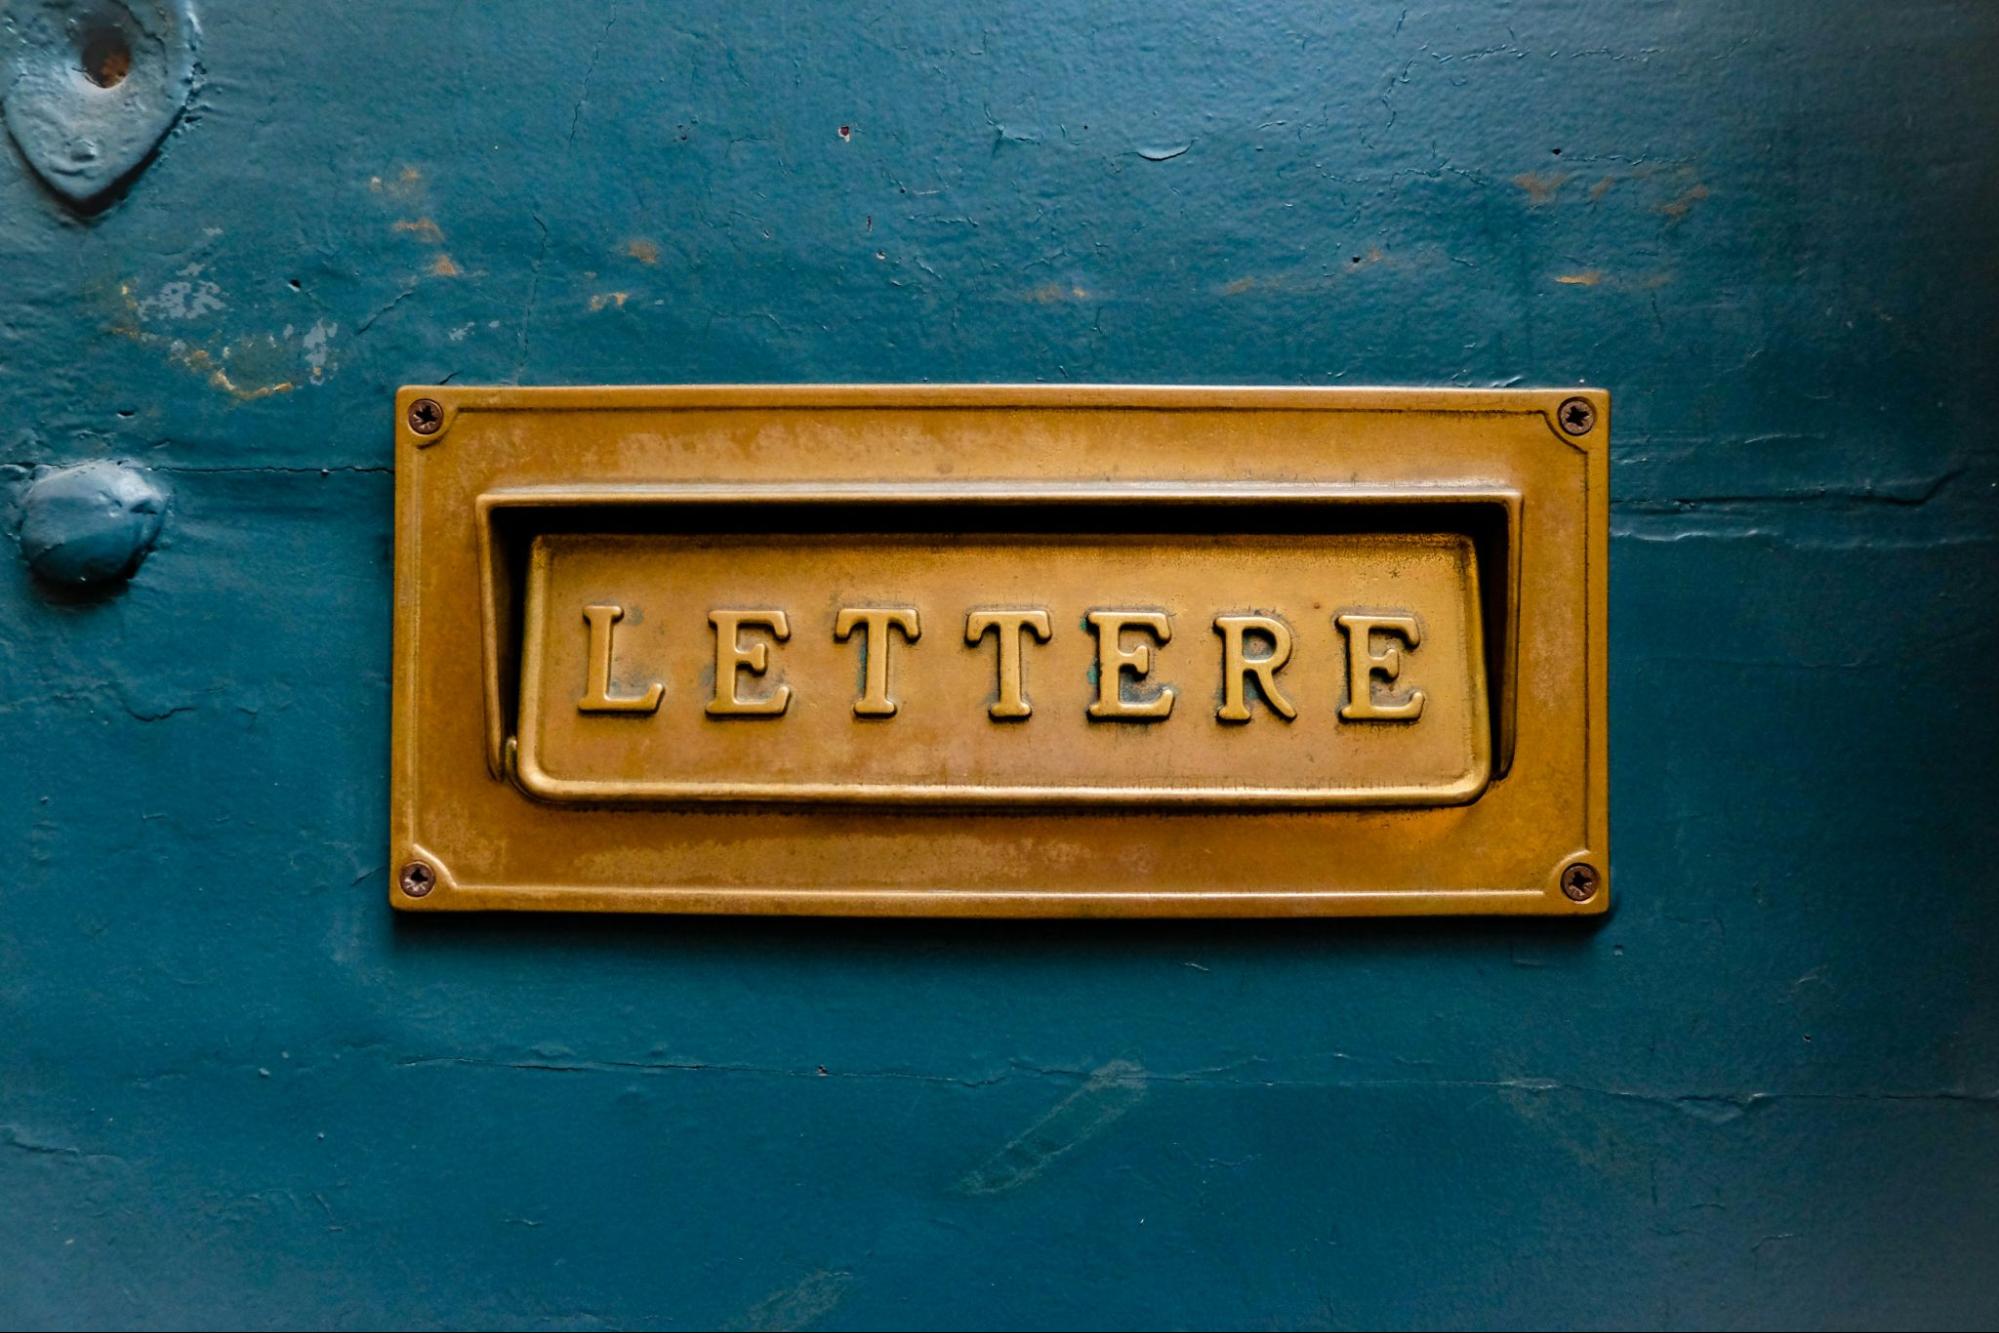
There are a few reasons you might decide to replace the letterbox on your door. Your letterbox serves a function, allowing letters and small parcels to be passed through your door, while also keeping out the breeze. You might decide it’s time to replace your letterbox if you’re facing any of these issues:
If you’re ready to upgrade your old letterbox for a stylish, functional and well-insulated new letterbox, these are the steps you’ll need to take.
First, gather your tools. You will need:
If you are expanding the door aperture or fitting a letterbox in a new door, you’ll also need the following:
You’ll start by locating the screws in your existing letterbox and removing these. When these are loose, the letterbox should slide out of the hole. There may be an adhesive or sealant that needs to be prised free with a flathead screwdriver.

You’ll then measure the hole and order a letterbox in the same size. If the existing hole is very small, you can extend it using a jigsaw. You’ll also need to drill new holes for the letterbox.
The letterbox fits into the hole and is secured by the long screws. If the bolt thread sticks out of the interior side of the door, you can use an angle grinder to shorten them. The interior can then be covered with a draught excluder to prevent cold air whistling through your hallway.
We also recommend pairing your new letterplate with a door knocker, such as this classic lion’s head knocker. If your exterior door is covered with a porch, you can also use our Victorian door knobs as a central door pull to make it easier to close a heavy door.
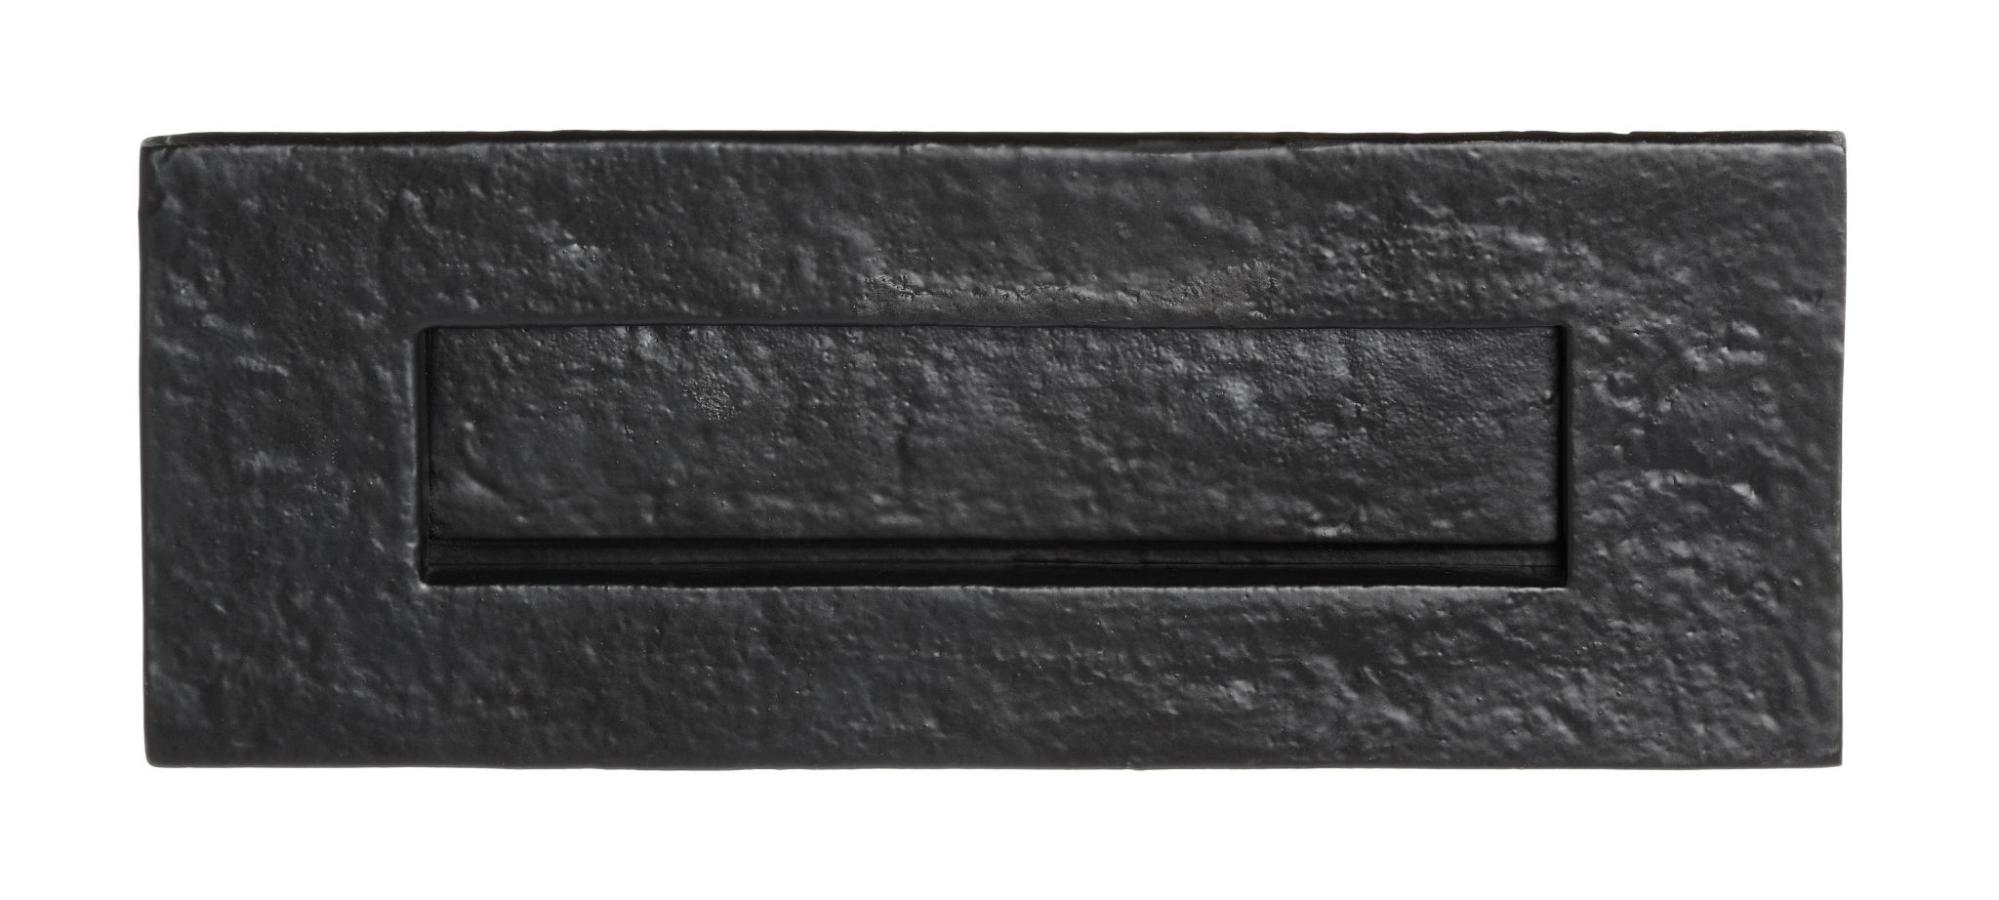
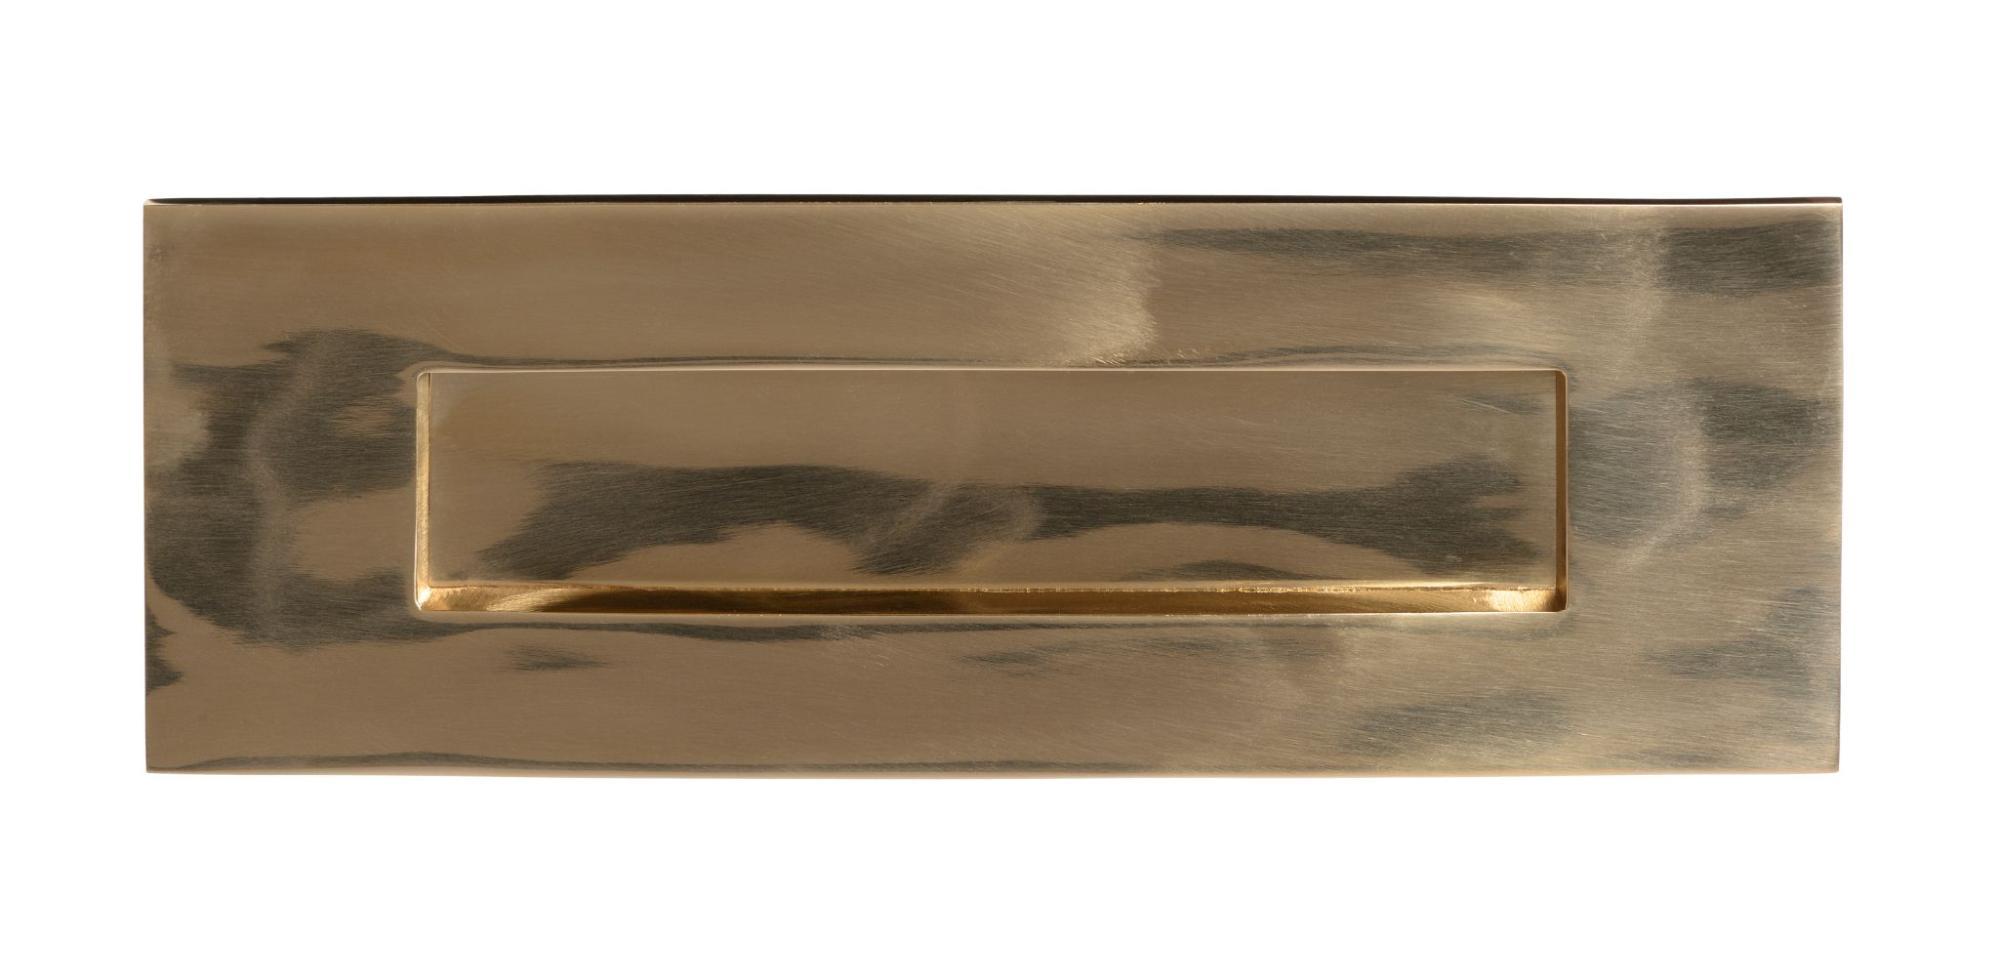
Our black powder coated letterbox cover looks stunning against bright and bold front doors. This style can also be installed vertically, which looks great in some doors where the panelling allows. Brass is also a popular choice for achieving that authentic Victorian look.
Sign up to our mailing list for the latest news, offers and Rad inspiration. You can unsubscribe at any time.